< strong >Can you make a gimbal with Mbot? Absolutely! While Mbot isn’t designed as a gimbal, enthusiasts have repurposed it using add-ons like servos, gyroscopes, and 3D-printed parts to stabilize cameras or drones. This guide explores practical methods, limitations, and step-by-step ideas to turn your Mbot into a functional gimbal for photography, videography, or STEM projects. < /strong >
This is a comprehensive guide about can you make a gimbal with mbot.
Key Takeaways
- Feasibility: Mbot can be adapted into a basic gimbal with external hardware (servos, motors) and coding tweaks.
- Limitation: Precision is lower than commercial gimbals due to Mbot’s size and motor power constraints.
- Add-ons Needed: Gyroscopes/accelerometers (e.g., MPU6050) improve stability via feedback loops.
- DIY Projects: Focus on single-axis stabilization (pitch/yaw) before multi-axis designs.
- Safety: Securely mount heavy loads to avoid damaging Mbot’s chassis or electronics.
- Educational Value: Great for teaching robotics, programming, and physics principles.
- Community Resources: Leverage forums like Arduino/Reddit for shared code and part lists.
—
[FEATURED_IMAGE_PLACEHOLDER]
Can You Make a Gimbal with Mbot?
If you’ve ever wondered whether the affordable, beginner-friendly Mbot could double as a gimbal—the tool that keeps cameras steady—you’re not alone. While Mbot’s primary purpose is STEM education, its modularity makes it a fun canvas for creative hacks. This article breaks down how to transform Mbot into a rudimentary gimbal, covering everything from component choices to troubleshooting pitfalls.
Gimbals are essential for smooth video footage, but commercial ones cost hundreds of dollars. By repurposing Mbot, you save money while gaining hands-on experience in robotics and sensor integration. Let’s dive into the process!
—
Understanding Gimbals and Mbot’s Capabilities
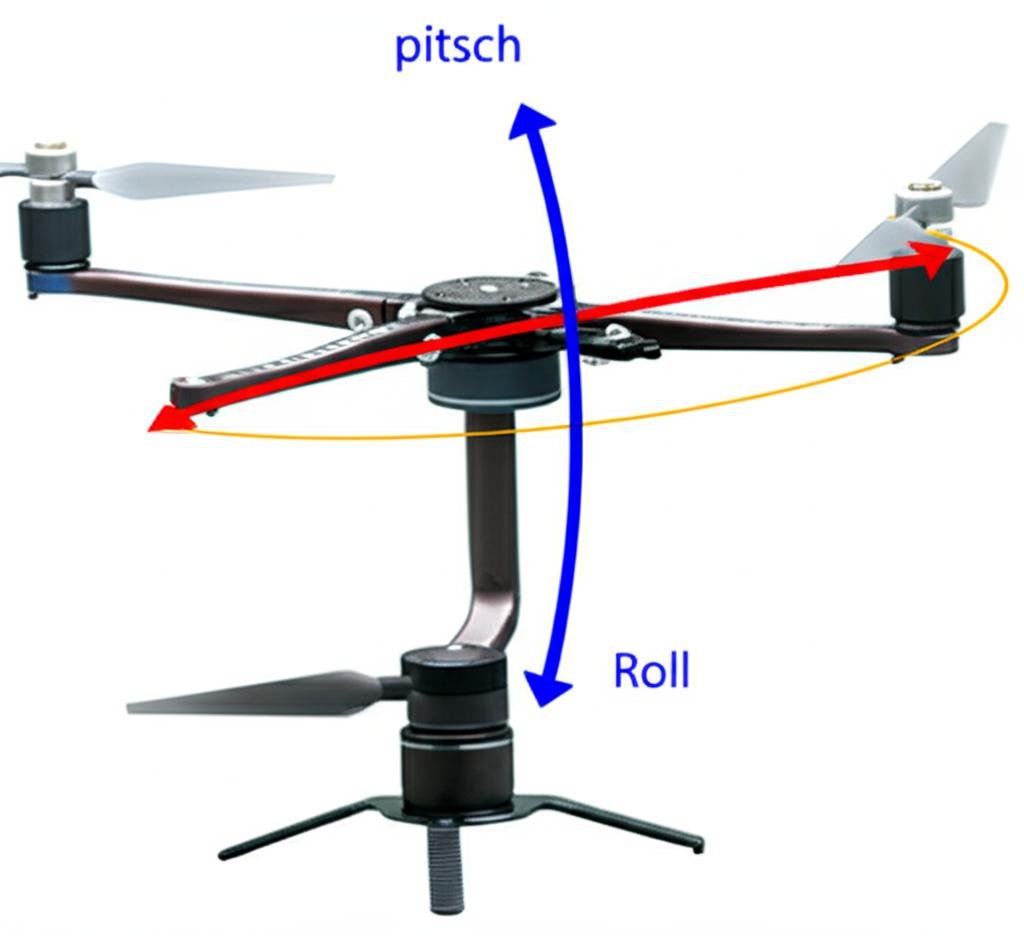
What Is a Gimbal?
A gimbal is a mechanical system that allows an object (like a camera) to rotate freely around multiple axes (pitch, yaw, roll). Professional gimbals use high-torque motors, sensors, and real-time feedback to counteract motion blur. For hobbyists, simplicity is key.
Mbot’s Strengths and Weaknesses
- Pros: Pre-built electronics, Bluetooth control, and open-source firmware (Arduino-based).
- Cons: Limited motor torque (only 2x 9g servo wheels), no native support for gyroscopes, and small chassis.
To compensate, you’ll need:
- External servos/motors (e.g., TowerPro MG996R for higher torque).
- Gyroscope modules (MPU6050) for tilt detection.
- Custom 3D-printed mounts to attach the camera.
—
Step-by-Step: Building a Single-Axis Mbot Gimbal
1. Hardware Requirements
Start with these components:
- Mbot base kit (for structure and motors).
- 2–4 high-torque servos (depending on axis complexity).
- MPU6050 sensor (gyro + accelerometer).
- Wires, breadboard, resistors (for connections).
- Camera rig (GoPro, DSLR, or smartphone).
2. Assemble the Mounting System
Secure servos to Mbot’s chassis using screws or 3D-printed brackets. Attach the MPU6050 to one servo’s horn to measure tilt. Use aluminum plates or acrylic sheets to distribute weight evenly.
Tip: Test servo range first—overloading them will cause slippage!
3. Code the Feedback Loop
Use Arduino IDE to write code that reads MPU6050 data and adjusts servo angles dynamically. Here’s a simplified snippet:
// Pseudocode for PID control
void loop() {
  float angle = readMPU6050();
  int correction = calculatePID(angle);
  setServoAngle(correction);
}
Adjust PID constants (Kp, Ki, Kd) for smoother response—this requires trial and error!
—
Multi-Axis Stabilization Challenges
Why Multi-Axis Is Harder
Adding roll or pitch axes demands:
- More servos (increasing power draw).
- Complex wiring (shielding noise interference).
- Advanced algorithms (Kalman filters for sensor fusion).
Workarounds
Simplify by:
- Focusing on one axis (e.g., horizontal yaw only).
- Using pre-built servo controllers (e.g., PCA9685 PWM board).
- Prioritizing lightweight cameras (smartphone GoPro Hero 10).
—
Practical Applications
Educational Projects
Teach students about:
- Inertial measurement units (IMUs).
- Control theory (feedback loops).
- Mechanical design (load distribution).
Creative Uses
Try these ideas:
- Time-lapse gimbal for plant growth studies.
- Drone stabilizer (pair Mbot with a small quadcopter).
- Art installation with moving cameras.
—
Troubleshooting Common Issues
Jittery Movement
Fix: Increase servo resolution (use microstepping drivers) or reduce payload weight.
Sensor Noise
Fix: Add low-pass filtering in code or use shielded cables for MPU6050 wiring.
Power Drain
Fix: Use separate LiPo batteries for servos to avoid voltage drops.
—
Conclusion
While a full-featured gimbal is unrealistic with Mbot alone, a single-axis setup is achievable with creativity and patience. This project blends engineering, coding, and problem-solving—perfect for makers and educators. Remember, the goal isn’t perfection; it’s learning. Share your results online (tag #MbotGimbal on social media) to inspire others!
Final Tip: Start small—build a pan-tilt unit before attempting a 3-axis model.
—
Quick Answers to Common Questions
Question 1?
Answer: Yes, but only as a single-axis stabilizer with external servos and sensors. Mbot’s built-in motors lack torque for professional use.
Question 2?
Answer: The MPU6050 (gyroscope + accelerometer) is essential for detecting tilt and enabling feedback control.
Question 3?
Answer: Arduino libraries like Wire.h (I2C communication) and PIDController.h simplify sensor integration and control logic.
Question 4?
Answer: Use 3D-printing software (Tinkercad/Fusion 360) to design custom mounts for servos and cameras.
Question 5?
Answer: Join communities like r/Mbot or Arduino Forum for code snippets and part recommendations.
—
Frequently Asked Questions
How much does a DIY Mbot gimbal cost?
Expect $50–$150, depending on servo quality and 3D-printed parts. Commercial gimbals start at $200+.
Can I use a smartphone as a camera?
Absolutely! A phone’s compact size works well for lightweight gimbals. Just ensure secure mounting to avoid vibrations.
Is this safe for beginners?
Yes, but start with simple projects. Soldering and 3D printing add complexity—opt for pre-cut parts if needed.
Will Mbot overheat with heavy loads?
Likely. Monitor temperatures and limit continuous use. Consider heat sinks for servos.
Are there tutorials available?
Yes! Search YouTube for “Mbot gimbal tutorial” or check Hackster.io for step-by-step guides.