Yes, you can replace a gimbal bearing yourself with the right tools, skills, and patience. However, success depends on the device model, complexity of the repair, and whether you have access to replacement parts. Proper disassembly, cleaning, reassembly, and testing are critical to avoid further damage.
Key Takeaways
- Assess your skill level: Beginners may struggle; complex devices (e.g., professional cameras) require advanced tools.
- Identify the correct part: Bearing models vary by brand/model; cross-check with manufacturer specs or forums.
- Essential tools: Screwdrivers, pliers, bearing press, lubricant, anti-static mat, and precision tweezers.
- Disassembly risks: Avoid stripping screws or misaligning components; take photos at each step.
- Lubrication matters: Use high-temperature grease (e.g., Molykote 1402) for longevity.
- Test incrementally: Reassemble partially to check alignment before full assembly.
- Warranty implications: DIY repairs may void warranties—check terms first.
—
[FEATURED_IMAGE_PLACEHOLDER]
Quick Answers to Common Questions
Question 1?
You can replace a gimbal bearing yourself if you have the right tools, part number, and technical aptitude. Beginners should practice on low-cost devices first.
Question 2?
Common tools include screwdrivers, pliers, a bearing press, cleaning alcohol, and high-temp grease. Precision tweezers help with tiny screws.
Question 3?
Look for grinding noises, vibration, or sticking. Manually test rotation resistance; compare to a working unit if possible.
Question 4?
Yes! Search “[Device Model] gimbal bearing part number” on Amazon, eBay, or specialty sites like Bearings Unlimited.
Question 5?
Apply Molykote 1402 grease to the races and shaft threads. Avoid over-greasing—it attracts dust.
📑 Table of Contents
Introduction: Why Replace a Gimbal Bearing Yourself?
Gimbals keep your camera stable, but worn-out bearings cause shaky footage or failure. Replacing them yourself saves money ($50–$200 vs. $300+ for professional service) and lets you troubleshoot faster. But is it feasible? Absolutely—if you’re methodical and patient.
This guide breaks down the process, from diagnosing issues to final testing, with real-world examples like DJI Ronin or Zhiyun Crane repairs. Whether you’re a hobbyist or tech-savvy pro, here’s what you need to know.
Step 1: Diagnosing a Faulty Bearing
Signs of a Worn-Out Bearing
- Grinding noises: A squeak or metallic crunch during movement.
- Vibration: Unstable shots even in “locked” modes.
- Sticking: Difficulty moving the gimbal smoothly.
- Overheating: Excessive warmth after prolonged use.
How to Test
Manually rotate the gimbal while holding it upright. If resistance feels uneven or parts grind, the bearing is likely failing. For precision, use a multimeter to check motor voltage fluctuations (advanced).

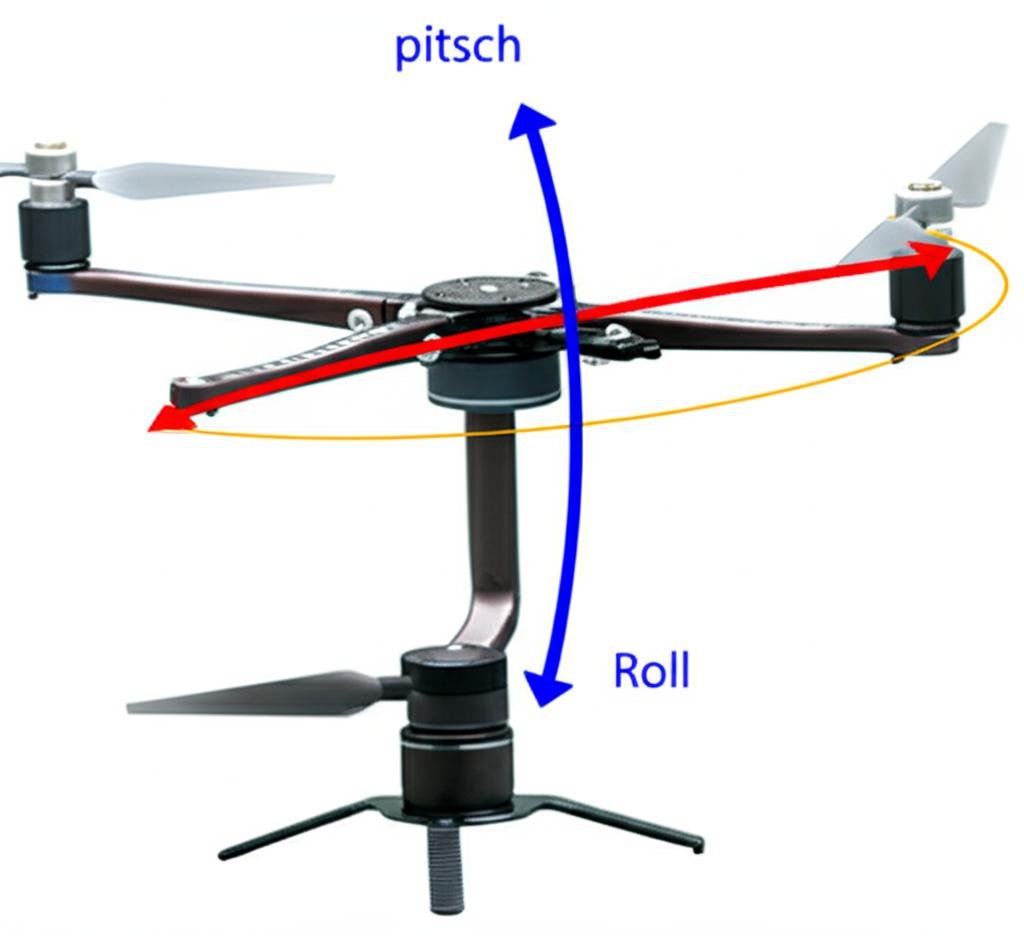
Visual guide about Can I Replace My Gimbal Bearing Myself
Image source: blogger.googleusercontent.com
Step 2: Gathering Tools & Replacement Parts
Essential Tools Kit
- Screwdriver set (Phillips/flathead)
- Pliers (need-nose for tight spaces)
- Bearing press tool (or vise with soft jaws)
- Lint-free cloth and isopropyl alcohol (cleaning)
- Molykote 1402 grease (high-temp, waterproof)
- Anti-static mat (prevents static damage)
Finding the Right Bearing
Check the device’s manual or search “[Brand/Model] gimbal bearing part number.” For example, a DJI Ronin-S uses a specific SKF 6908ZZ bearing. Online forums (e.g., Reddit’s r/gimbals) often list trusted suppliers.
Step 3: Disassembly Without Damage
General Tips
- Take photos/videos at every disassembly stage.
- Use a magnetic tray to scatter small screws.
- Label components with masking tape (e.g., “Motor A,” “Gear B”).
Example: Zhiyun Crane 3
Remove the battery cover, unscrew 6x M3 screws, and lift the gimbal arm. The bearing sits inside a plastic housing—carefully pry out the old one with a flathead screwdriver (angled gently).
Step 4: Installing the New Bearing
Cleaning & Prep
Soak old parts in isopropyl alcohol (90%+) for 10 minutes. Scrub with a toothbrush to remove dust. Dry thoroughly before applying new grease.
Pressing the Bearing
Use a bearing press tool or hammer a steel rod into the hole until flush. If lacking tools, place a soft rubber pad under the bearing and tap lightly with a mallet.
Alignment Matters
Ensure the bearing’s race faces the correct direction (marked with arrows). Misalignment causes wobble!
Step 5: Reassembly & Testing
Rebuilding
Reattach parts in reverse order, tightening screws just enough (over-tightening cracks plastic housings). Apply grease sparingly—too much attracts dirt.
Testing Phases
- Manual test: Rotate the gimbal without power; should move freely.
- Power-on test: Check motors respond smoothly to remote commands.
- Stability test: Record a short clip; watch for vibrations.
Common Mistakes & Fixes
- Overscrewing: Loosen slightly if gimbal binds.
- Incompatible grease: Silicone grease melts at high temps—use Molykote instead.
- Forgetting to clean: Old grease attracts debris; always wipe surfaces.
When to Call a Pro
If you encounter:
- Broken gears or motors.
- No replacement part available.
- Uncertainty about wiring connections.
Professionals have torque specs and alignment tools that save hours of trial-and-error.
Conclusion: DIY Success Story
Replacing a gimbal bearing is achievable with patience. Start simple (e.g., action cameras), then tackle complex rigs as you gain confidence. Document each step, prioritize safety, and celebrate small wins—like getting a shake-free shot! Remember: Even pros learn through mistakes. Happy repairing!
Frequently Asked Questions
Is it risky to disassemble my gimbal?
Yes, but minimal risk if you follow instructions. Strip screws or misalign parts easily, so work slowly and document steps.
Can I use regular grease instead of high-temp options?
No. Standard grease melts under motor heat, causing slippage. Molykote or similar synthetic grease lasts longer.
What if my gimbal still shakes after replacing the bearing?
Check for loose screws, bent shafts, or worn gears. All gimbal components must be synced properly.
Will warranty be voided?
Most manufacturers void warranties for self-repaired devices unless explicitly allowed (e.g., iFixit-approved guides).
How long does a new bearing last?
With proper care, 2–5 years. Regular cleaning and avoiding extreme conditions extend lifespan.
Are there YouTube tutorials for my model?
Search “[Your Model] gimbal bearing replacement” on YouTube. Channels like “Gimbal Repair Guy” offer detailed walkthroughs.