Yes! Electronic gimbals are designed for both video and photography, offering smooth stabilization even in motion. By pairing a compatible camera with a gimbal, you can eliminate shaky footage and create professional-grade images with ease. Whether shooting landscapes or portraits, a gimbal enhances clarity and depth, making it a must-have tool for serious photographers.
—
Key Takeaways
- Gimbals stabilize cameras: They counteract movement, ensuring sharp, steady images whether walking or moving dynamically.
- Compatibility matters: Not all gimbals support every camera model—check specs before purchasing.
- Modes for creative control: Use pan-tilt-zoom (PTZ) modes or follow features to automate tracking subjects.
- Battery life is critical: Gimbals drain quickly; carry spares for long shoots.
- Lightweight options exist: For casual use, mini gimbals balance portability and functionality.
- Practice is key: Experiment with settings like angle limits and sensitivity for optimal results.
- Accessories boost performance: Add ND filters or remote controllers for advanced techniques.
—
[FEATURED_IMAGE_PLACEHOLDER]
Introduction: Why Use a Gimbal for Photography?
Ever taken a photo that’s blurry because you moved too fast or bumped your tripod? An electronic gimbal solves this by stabilizing your camera electronically, much like a gyroscope in a drone. Unlike mechanical tripods, gimbals adjust angles in real time, letting you move freely while keeping focus crisp. Think of it as having a superpower: you can dance, run, or chase wildlife without sacrificing image quality.
Gimbals aren’t just for vloggers—photographers benefit too. Whether you’re shooting a sunset hike or a bustling city street, these tools turn shaky moments into polished masterpieces. In this guide, we’ll explore how to use a gimbal for photography, from setup to creative tips, so you never miss a shot again.
How Does a Gimbal Work for Photos?
The Science Behind Stabilization
A gimbal uses motors and sensors to detect movement and compensate for it. Here’s the breakdown:
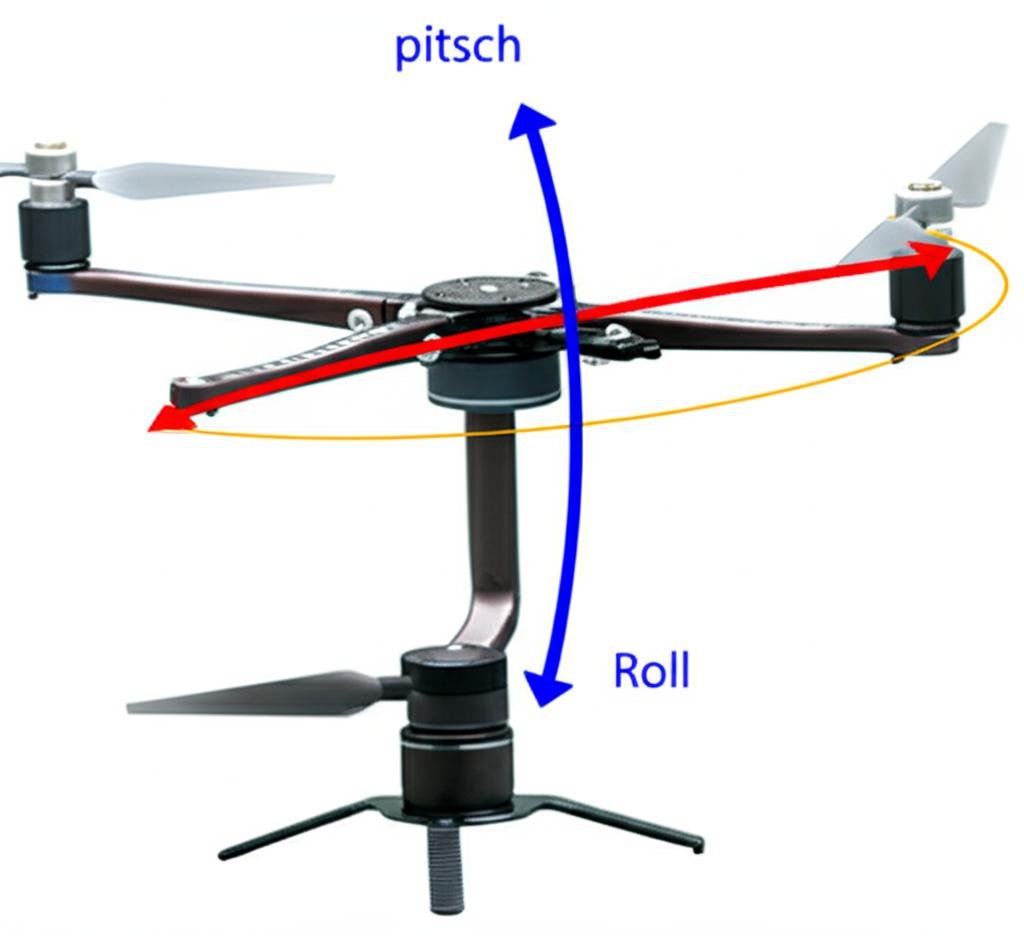
- Gyroscopic sensors: Measure tilt, roll, and yaw (horizontal/vertical angles).
- Magnetic encoders: Track position changes in 3D space.
- Motorized counterweights: Adjust in real time to keep the camera level.
For example, if you raise your arm suddenly, the gimbal lowers the camera slightly to maintain horizon stability. This technology works best when paired with a DSLR, mirrorless, or action camera.
Types of Gimbals for Photography
- Full-size gimbals: Designed for heavy cameras (e.g., Sony A7 IV, Canon R5). Ideal for professional work.
- Compact gimbals: Fit smaller bodies (e.g., Fujifilm X-T4) but may struggle with lenses over 80mm.
- Action gimbals: Ultra-lightweight for GoPro-style cameras. Best for adventure shots.
Choosing the Right Gimbal for Your Camera
Compatibility Checklist
Before buying, verify:
- Weight capacity: Ensure your camera + lens combo fits within limits (e.g., DJI RS3 supports up to 6kg).
- Mount type: Most use standard tripod heads, but some require specific adapters.
- Connectivity: Bluetooth/Wi-Fi for remote control? Check if your camera supports it.
Tip: Brands like DJI, FeiyuTech, and Zhiyun offer compatibility charts on their websites.
Budget Considerations
| Price Range | Best For |
|---|---|
| $100–$300 | Hobbyists (e.g., Zhiyun Smooth Mini) |
| $300–$800 | Enthusiasts (e.g., DJI RS Pro) |
| $800+ | Professionals (e.g., FeiyuTech V3) |
Setting Up Your Gimbal for Photos
Step-by-Step Guide
- Charge the gimbal: Always start fully charged—runtime varies (2–6 hours).
- Attach the camera: Secure it using the included mount and tighten screws.
- Level the gimbal: Use the built-in bubble level or app to ensure horizontality.
- Calibrate motors: Follow manufacturer instructions (often via companion apps).
- Test movements: Pan, tilt, and zoom slowly to check responsiveness.
Common Pitfalls & Fixes
- Overheating: Avoid continuous use; let motors cool down.
- Jittery shots: Reduce motor sensitivity in settings.
- Battery drain: Disable Wi-Fi/Bluetooth when not needed.
Creative Techniques Using a Gimbal
Panning Shots
Slowly sweep the gimbal horizontally across a scene (e.g., passing cars or waves). This creates dynamic motion blur while keeping the subject sharp. Tip: Use a shutter speed of 1/30s–1/60s for optimal effect.
Tracking Subjects
Enable “Follow” mode to lock onto moving objects (like runners or birds). The gimbal adjusts automatically—great for wildlife or event photography. Pair this with a telephoto lens for close-ups!
Low-Angle Perspectives
Lean forward to shoot from ground level (e.g., for dramatic portraits or macro shots). The gimbal keeps your phone/camera level despite awkward angles.
Accessories to Enhance Your Setup
ND Filters
Reduce glare in bright light without overexposing your photo. Polarizing filters also enhance sky colors.
Remote Controllers
Free your hands for selfies or group shots. Models like DJI Osmo Remote offer touchscreen controls.
Extra Batteries
Gimbals consume power faster than cameras. Carry two spares for all-day shoots.
Conclusion: Mastering Photos with a Gimbal
Electronic gimbals revolutionize photography by turning shaky moments into stunning images. With the right gear, practice, and creativity, you can achieve cinematic quality without a bulky rig. Start small—try a compact gimbal with your smartphone—then upgrade as your skills grow. Remember: the best photos come from experimentation. So grab your gimbal, hit the streets, and let your creativity flow!
—
Quick Q&A
Question 1?
Answer: Yes, most modern gimbals support still photography. Look for models labeled “photo/video” or check compatibility lists.
Question 2?
Answer: Full-size gimbals (e.g., DJI RS3) handle heavy cameras, while compact versions suit lighter bodies. Always match weight ratings.
Question 3?
Answer: Enable “Follow” or “Track” modes in your gimbal’s app/software to auto-adjust for moving subjects.
Question 4?
Answer: Yes! Use ND filters for low-light conditions and remote controllers for hands-free shots.
Question 5?
Answer: Practice basic movements first (pan, tilt), then experiment with creative techniques like panning or low-angle shots.
—
FAQs
Do gimbals work better than tripods?
Gimbals excel for dynamic shots where you need mobility, while tripods are sturdier for static scenes. Combine both for versatility.
Can I use a gimbal indoors?
Absolutely! Gimbals stabilize indoor shots equally well, especially for action or portrait photography.
Are gimbals waterproof?
Only specialized models (e.g., DJI Ronin-S) have IP ratings. For water resistance, use a dry bag.
What’s the difference between 2-axis and 3-axis gimbals?
2-axis stabilizes horizontal/vertical movement; 3-axis adds roll control for smoother rotation. 3-axis is preferred for photos/videos.
How do I clean my gimbal?
Wipe surfaces with a microfiber cloth. Avoid liquid near motors/sensors. Store in a dust-free pouch.
Can I use a gimbal with a drone?
No—drone gimbals are integrated into the aircraft body. Separate gimbals are for handheld cameras only.
This is a comprehensive guide about can i take pictures with an electroinc gimbal.
Key Takeaways
- Understanding can i take pictures with an electroinc gimbal: Provides essential knowledge
Quick Answers to Common Questions
What is can i take pictures with an electroinc gimbal?
can i take pictures with an electroinc gimbal refers to essential knowledge and techniques.
Frequently Asked Questions
What is can i take pictures with an electroinc gimbal?
can i take pictures with an electroinc gimbal is an important topic with many practical applications.