Gimbals are a game-changer for home tour videos, offering smooth stabilization, professional-grade motion shots, and creative flexibility. They eliminate shaky handheld footage, making your videos more polished and engaging—ideal for real estate, relocation, or showcasing spaces online.
Key Takeaways
- Stabilization: Gimbals reduce camera shake, ensuring crisp, steady footage even on uneven surfaces.
- Creative Freedom: Enable dynamic angles (low sweeps, panning) that handheld cameras struggle to achieve.
- Ease of Use: Most modern gimbals are intuitive, with one-button controls for quick setup.
- Versatility: Compatible with smartphones and action cams, not just DSLRs.
- Cost-Effective: Affordable options exist for beginners, while pro models cater to advanced needs.
- Lightweight Design: Compact gimbals don’t add bulk, perfect for indoor tours.
- Battery Life: Some models last 3-4 hours; always pack spares for long shoots.
[FEATURED_IMAGE_PLACEHOLDER]
Why Gimbals Elevate Home Tour Videos
Imagine walking through a house with fluid, cinematic movement—no jiggly bumps or jerky turns. That’s what gimbals bring to home tours. Unlike handheld cameras, which amplify minor shakes, gimbals use motors to counterbalance movements, creating a smoother, more professional look.
The Problem Without a Gimbal
Handheld filming often results in:
- Wobbly shots: Even slight hand tremors make footage feel amateurish.
- Limited angles: Difficult to capture wide or sweeping views without resetting.
- Inconsistent framing: Requires constant readjustment, wasting time.
A gimbal fixes these issues instantly.
Real-World Example: A Before-and-After
Consider a 10-minute home tour filmed without vs. with a gimbal:
- Before: Shaky kitchen shots, awkward close-ups, and static bedroom scenes.
- After: Smooth pans from dining room to living area, dramatic low-angle hallway sweeps, and effortless zoom-ins on decor.
The difference is night-and-day!
Best Types of Gimbals for Home Tours
Not all gimbals are created equal. Here’s what to consider:
Smartphone Gimbals (Budget-Friendly)
For beginners or casual creators, smartphone gimbals like DJI OM 5 or Zhiyun Smooth 4 offer:
- Auto-tracking: Follow subjects automatically.
- 360° rotation: Ideal for room transitions.
- Portable size: Fits in a pocket.
Tip: Pair with a sturdy tripod for extra stability during static shots.
DSLR/Mirrorless Gimbals (Pro-Level)
If you use a camera like Sony A6400 or Canon EOS M50, invest in a camera-specific gimbal like:
- DJI RS 3 Pro: Handles up to 7kg, ideal for heavy lenses.
- Rycoy 2-axis: Budget-friendly for lighter setups.
Note: These require practice but unlock advanced techniques like tracking shots.
Action Camera Gimbals (Outdoor/Indoor Hybrid)
For mixed environments (e.g., outdoor walkthroughs), gimbals compatible with GoPros or Insta360 X2 provide:
- Waterproofing: Handle spills or humid conditions.
- Wide-angle lens support: Capture immersive space views.
How to Use a Gimbal for Home Tours (Step-by-Step)
Here’s a beginner-friendly workflow:
1. Mount Your Device Securely
Attach your phone/camera firmly using the included mount. Loose connections cause vibrations.
2. Choose a Shooting Mode
Modes vary by brand, but common ones include:
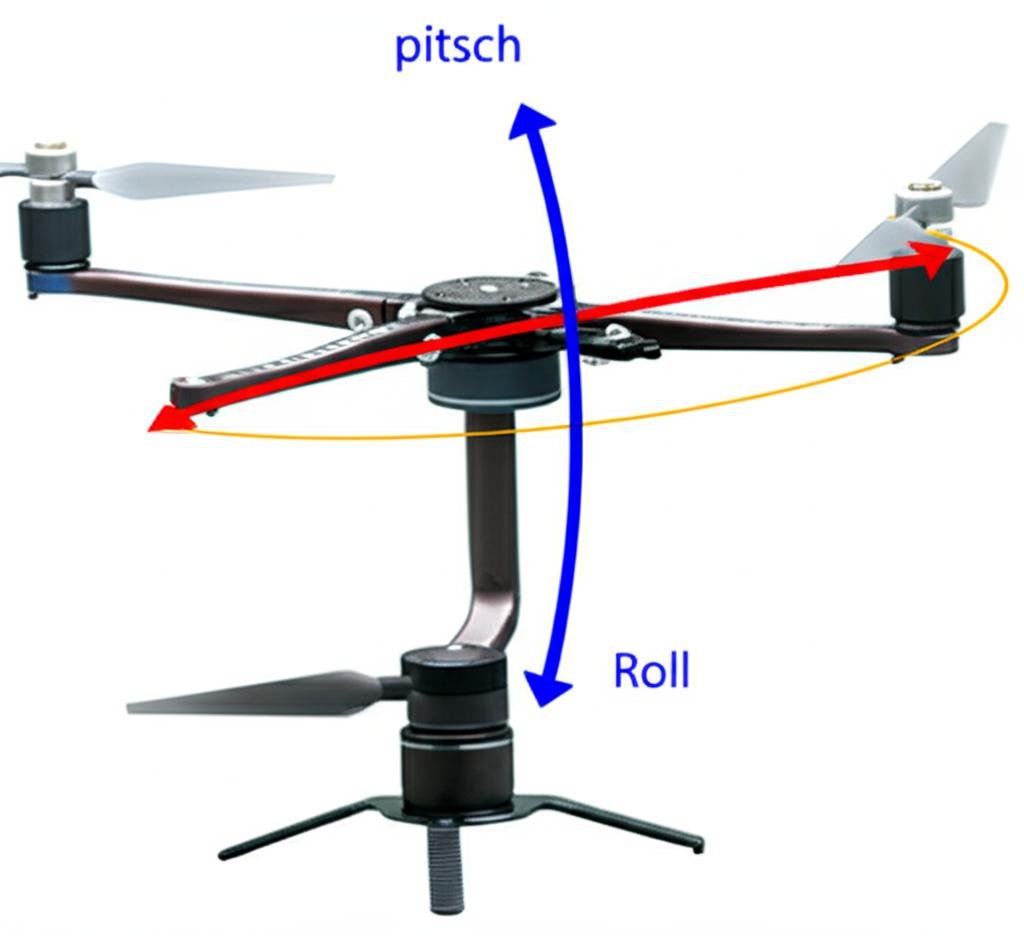
- Pan/Tilt: Adjust pitch (up/down) and yaw (left/right).
- Follow Mode: Keeps subject centered as you move.
- Lock Mode: Freezes rotation for static scenes.
Practice: Test each mode in a small room first.
3. Plan Your Angles
Sketch a shot list ahead of time. For example:
Kitchen: Low-angle sweep under cabinets → Wide overhead shot of island.
Bathroom: Slow pan around mirror → Close-up of vanity.
4. Stabilize Movement
Move deliberately:
- Slow pans: 1–2 seconds per shot.
- Smooth transitions: Use gimbal locks between rooms.
- Avoid sudden stops/starts: Jerky motions disrupt smoothness.
Pro Tip: Walk in a straight line for best results.
5. Lighting Matters
Gimbals don’t fix poor lighting. Position yourself near windows or use lamps for even illumination.
Common Mistakes to Avoid
Even experts slip up here:
Mistake 1: Overusing Motion
Too many pans/pushes overwhelm viewers. Balance with static shots.
Mistake 2: Ignoring Battery Life
Shoot in bursts (e.g., 30 minutes max per charge). Carry spare batteries or a power bank.
Mistake 3: Not Testing Settings
Calibrate your gimbal before filming (refer to user manual).
Mistake 4: Poor Audio Quality
Use an external mic or noise-canceling headphones. Gimbals focus on visuals, not sound.
Gimbal Alternatives & When to Skip Them
A gimbal isn’t always necessary:
When to Use Tripods Instead
Static scenes (e.g., product close-ups) work better with tripods because:
- No motor interference for perfectly still shots.
- Lighter and cheaper for single-room setups.
When Handheld is Fine
For ultra-short clips (<2 mins) or when mobility is key (e.g., moving quickly between rooms).
Final Thoughts: Is a Gimbal Worth It?
If you want polished, engaging home tours, yes! While there’s a learning curve, the payoff is huge:
- Higher engagement: Viewers stay longer with smooth footage.
- Time savings: No need to retouch shaky clips in post-production.
- Brand credibility: Professional-looking content builds trust.
Start small: Try a smartphone gimbal first. As you gain confidence, explore advanced features like follow modes or multi-device setups.
Ready to Level Up?
Invest in a gimbal today—your home tours will thank you later! 🚀
This is a comprehensive guide about are gimbals good for home tour video.
Key Takeaways
- Understanding are gimbals good for home tour video: Provides essential knowledge
Quick Answers to Common Questions
Question 1? What’s the cheapest gimbal for home tours?
The Zhiyun Smooth 3 ($80–$100) offers solid stabilization for smartphones. Look for sales on Amazon or Best Buy.
Question 2? Can I use a gimbal with a GoPro?
Absolutely! Brands like Rycoy and Smarbee
Basic proficiency takes 1–2 weeks. Advanced techniques (tracking, multi-axis control) may take months with practice. Yes, but avoid rapid movements. Slower pans help cameras adapt to changing light levels. Apps like Filmic Pro (paid) or InShot (free) have stabilization features, but nothing beats hardware for quality. $50–$100 gets you a decent smartphone model. For DSLRs, expect $200+. No, but it prevents shaky footage from drawing attention to lighting flaws. Always improve lighting first. No, but watching tutorials (e.g., YouTube’s “Gimbal Basics”) helps. Practice in small spaces first. The DJI RS 3 Pro lasts 4.5 hours, while most budget models hit 3 hours. Yes! Brands like Insta360 and Rycoy offer dedicated 360° gimbals for immersive tours. Stick to flat surfaces for safety. Stairs can strain motors and cause instability.Question 3? How long does it take to master a gimbal?
Question 4? Do gimbals work in low light?
Question 5? Are there free apps to stabilize footage?
Frequently Asked Questions
What’s the minimum budget for a good gimbal?
Can a gimbal compensate for bad lighting?
Do I need special training to use a gimbal?
Which gimbal has longest battery life?
Are there gimbals for 360° videos?
Can I use a gimbal on stairs?